
Our customers often ask: How DO you set up your BRAND NEW customized retractable banner? It can seem simple, but it’s a bit more complex than it looks.
Here’s a quick guide on how to set up this awesome, eye-catching item!
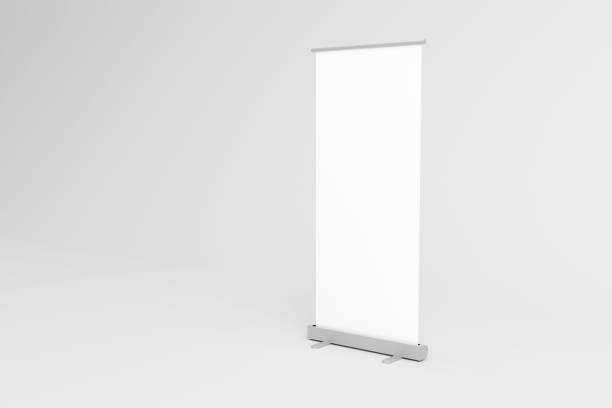
What You’ll Need:
- The retractable banner base (usually comes in a carrying case)
- The printed banner (already installed in the base)
- The pole (usually in 2 or 3 collapsible sections)
Step-by-Step Setup Instructions:
1. Unpack the Banner
- Take everything out of the carrying case.
- Place the banner base on the floor, with the flat side facing forward towards your guests or seating area.
2. Assemble the Pole
- Connect the pole sections together (they usually snap or slide into each other).
- Make sure the assembled pole is fully extended and straight.
3. Insert the Pole into the Base
- Look for the small hole or slot in the back-center of the base.
- Insert the bottom of the pole into this hole securely.
4. Pull Up the Banner
- Gently grab the top bar (there’s usually a horizontal bar at the top of the banner inside the base).
- Pull it straight up slowly and evenly.
5. Hook the Banner to the Pole
- Once the banner is fully extended, hook the top bar onto the top of the pole.
- There’s usually a clip, hook, or slot at the top of the pole for this purpose. Each model is slightly different!
6. Adjust & Align
- Step back and make sure the banner is standing straight and flat.
- Adjust the base or pole slightly if the banner leans or curls.
To Take It Down:
- Unhook the banner from the top of the pole.
- Hold the banner firmly so it doesn’t snap down.
- Let it retract slowly into the base.
- Disassemble the pole and pack everything back into the case.
We hope you find this helpful! Conolly Digital Printing is DEDICATED to creating a masterpiece for you and your event, every time. Thinking of ordering a banner? Get in touch through our website, and we’ll be happy to help!